Cooking can be fun and therapeutic, but we know as much as anyone how boring the cleaning part can be. Because of this, we’ve tried to prevent the pot (and the delicious food inside) from getting burnt. We kept an eye on the stove, but there was always something that took our attention away, and those few moments of distraction spelt disaster for our cookware. Being the simple humans that we are, we’ve burnt more pots than we care to count. They’ve taken us hours to clean with elbow grease alone. That time, however, gave us a chance to think about better, simpler solutions for how to clean a burnt pot.
We tried scraping as much of the charcoaled mess from our pots and pans as possible, but there were always stubborn bits that just wouldn’t come off. What about store-bought chemicals? Well, we tried those too, but most of them were just overpriced bottles filled with nasty chemicals. Also, the few key ingredients they contain are cheap to buy on their own, so it makes little sense to pay for the fillers. Peek at the back of the label and you’ll see what we mean! Here, we’ve got 7 ways you can clean a burnt pot that are simple and inexpensive. In addition, we’re sure you’ll have most of these ingredients at home already.
Before we get into it, we’ve investigated each of these cleaning methods and ranked them in order from the gentlest to the most abrasive. We know that all pots are different, so we suggest that you use the gentlest method first to reduce the risk of damaging them.
Let’s get started!
The “Soak” – How to Clean a Burnt Pot
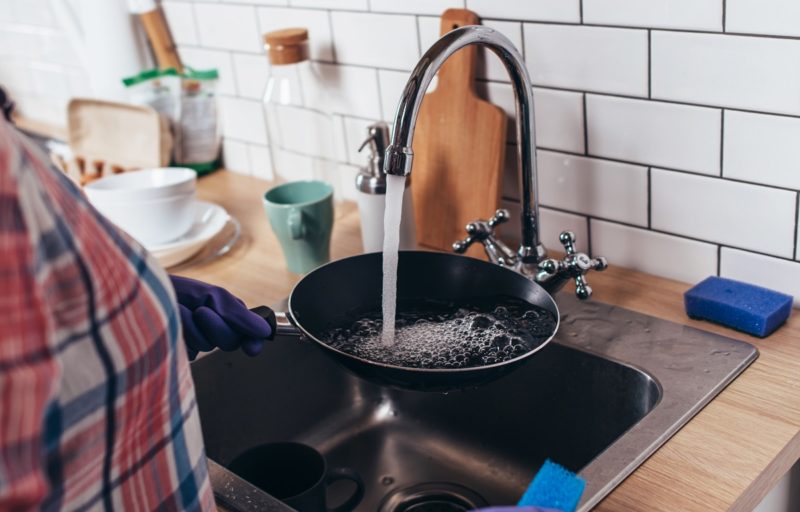
Filling the pot with water in the hopes that it will soak for a couple of hours is something we’re all guilty of. The guilt, of course, comes in once we realise the pot has been sitting on the bench for three days.
This method is the easiest because all it takes is water, time, and a little bit of effort. We know it’s easy to forget about the pot once it’s been set aside though, so set a timer or leave it on the bench where you can see it if you walk by. This method is simple, cheap, and is good at softening the burned remains inside your pot. Also, it’s better than scrapping the pot for hours.
- Fill the pot with hot water and leave in the sink or on the bench.
- Wait for a couple of hours before draining and scraping the pot with your favourite scourer.
Sizzling Water
If you’re feeling a little more motivated, or you don’t want to sit around and wait, boiling the water instead will lift more of the left-over food particles. Just make sure you don’t forget about it, and boil the water to nothing!
- Cover the base of the pot with water, then place it on the stove to boil. The heat will soften and break up any burned remains.
- Take the pot off the stove and drain the water.
- Let it cool for a while before scrapping away the burnt parts with a scourer.
Tomato Sauce – How to Clean a Burnt Pot
Yeah, it’s a little weird. Somehow though, it works! Since tomatoes are acidic, it’s good for cleaning. This method, however, is for pots with minor stains. Tomato sauce is better at polishing pots than it is at removing charcoal-heavy pot stains. There are two ways to use the sauce.
- Squeeze a decent amount of sauce onto the left-over burnt food particles and add a little water. Put the pot on the stove and let it simmer for a few minutes.
- Scrap the sauce into the sink and any burnt bits along with it.
- Another option is to leave the sauce at room temperature and let it sit in the pan overnight. If you’re anything like us though, you’ll want to get it over and done with quickly.
OR
- Skip the boiling part and simply squirt on enough tomato sauce to cover the bottom of the pan.
- Use your scourer and scrub it until it lifts the burned bits. This may take some time, however.
Detergent or Salt and Lemon
This method has a couple different ways you can go about it, so we’ll show you both. Some people also use the detergent and salt together, but we prefer to use one or the other.
- Add a squirt of detergent OR a sprinkle of salt to your pot. Add a little water and bring to the boil.
- If using detergent, let it boil with the water for a few minutes before taking off to cool. Scrape off the burned parts.
- If using salt, use a wooden spoon to scrap at the pot to dislodge the burnt parts while it simmers.
OR
- Sprinkle salt into the bottom of the pan and use half a lemon as a scourer.
- Scrub the burnt parts well and add some water if needed. The lemon juice will help break down the grease and will lift it off more easily than a regular scourer.
- Feel free to pour in lemon juice and use a scourer or your favourite cleaning tool if you prefer.
Vinegar and Baking Soda
This is our favourite method on how to clean a burnt pot, because it just works so well. It’s not too abrasive, but it can cut through almost anything. Our pots always came up sparking-clean!
- Fill the pot with enough water to cover the bottom, then add 1 cup of vinegar.
- Put the pot on the stove and let the water boil for a few minutes.
- Take it off the heat and drain the liquid, but don’t dry the pot.
- Place it in the sink (in case there’s a lot of fizzle-action) and add a couple teaspoons of baking soda to the pot.
- Add a small amount of water and swirl the mixture around the burnt parts of the pot.
- Leave it for a couple of hours.
OR
- If you have no patience, scrub the living daylights out of that pot. Once the pieces have been scraped or scrubbed off, rinse with water.
Cream of Tartar and Vinegar
Cream of Tartar is created by crushing the crystals of potassium bitartrate into a powder form. Like vinegar, it’s an acid, so it breaks down and softens food particles. Cream of tartar is also abrasive, so it acts as a scourer and is able to help in scrubbing off particles. It also has slight bleaching properties.
- Mix 2 tablespoon of cream of tartar with 1 litre of water and pour into the pot.
- Then add ½ cup of vinegar.
- Place the pot onto the stove and allow the mixture to boil for 10 minutes.
- Take the pot off the heat and let it cool enough to touch. Leave the reduced mixture inside and scrub with a scourer.
- If the pot still has burned remains on the bottom, repeat steps 1-3 and leave to boil for longer.
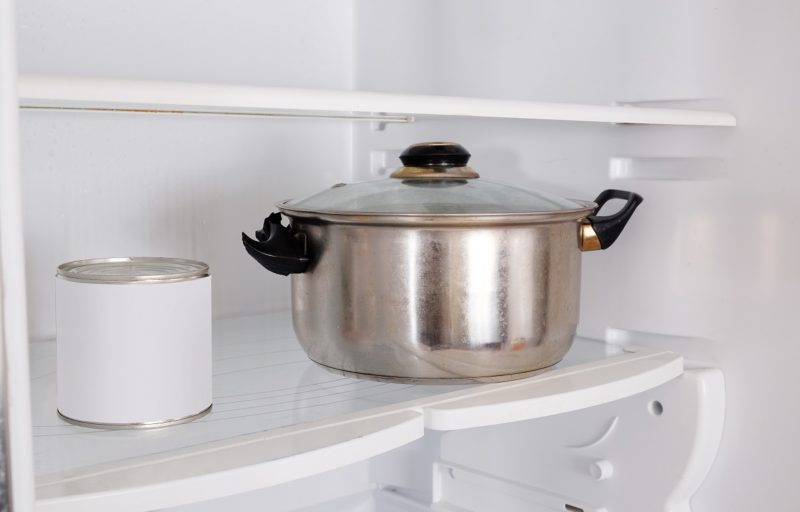
Freeze the Pot
This one isn’t abrasive or quick, but it requires nothing but time in the freezer. Don’t clean the pot, apart from a rinse to get rid of excess food and grease.
- Make room for the pot in your freezer, then put it inside, mess and all.
- Leave it overnight.
- The next day, take the pot out and bring it to the sink.
- Use a scraper to pry the frozen food particles from the bottom.
Other Ideas on How to Clean a Burnt Pot
So, that’s how to clean a burnt pot! you’ve read all the methods, but if you’re still not sure which one to choose, we think the good ol’ vinegar and baking soda should do the trick wonderfully. Though all the methods are simple and cost-effective, we believe nothing can beat the age-old duo as the best pot cleaner.
However, all the methods have their place. If you want a way that’s going to get a lightly stained pot cleaned, a good soak or a few minutes with boiling water will do the trick. Or, it your have a pot with stubborn stains and you want a good polish, tomato sauce will help. And if there is some serious build-up, then you can’t beat vinegar and baking soda, or cream of tartar. But if you don’t have any of those ingredients, just freeze the pan.
If none of those methods worked for you, then there’s only one thing left – buy a new non-stick pot. It’s always sad to retire a faithful and trusty pot. Despite this, be glad that it’s served its purpose and helped you cook wonderful meals. Now, go out there and invest in new cookware that requires little to no oil to cook, and is super easy to clean. They will save you both time and money.
If you’ve found this article on ‘How to Clean A Burnt Pot’ useful, then check out our other useful tips here.